A Basic Guide to Starting Plants From Seed
Have you ever looked through a seed catalog and been tempted by the beautiful photos of flowers and veggies, or walked past the seed packet display at the hardware store and wondered about all the amazing seeds that are available? Did you talk yourself out of purchasing because growing plants from seeds is just too hard? Well, I believe you can and should try growing plants from seeds and I know there is an excellent chance that this process can be enjoyable for you as well as a very rewarding gardening experience. In this blog I will share the steps I follow each spring when I start my garden from seed. Join me as I take you through the process step by step.
Step 1. Prepare the soil
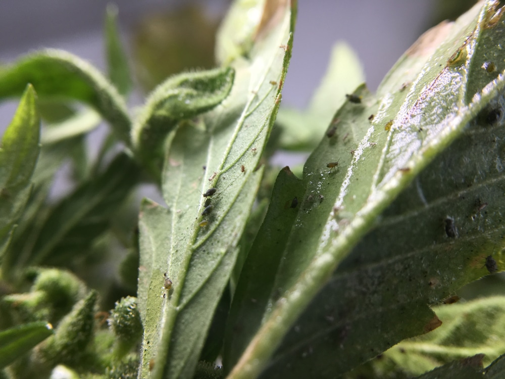
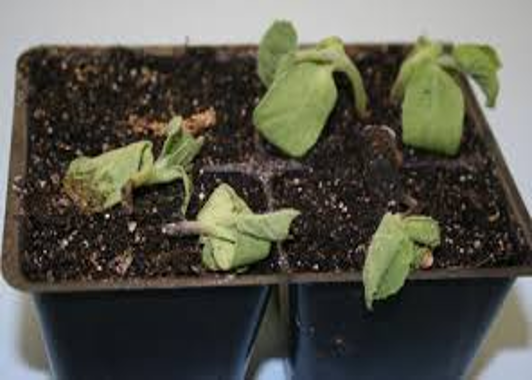
Let’s start with the soil. When starting your seeds, consider using a seed starting mix, also known as sterile seed mix. My reason for recommending seed starting mix instead of using regular potting mix is that regular potting soil can often contain soil gnats which can feast on your seeds. Soil gnats look like tiny black flies on or flying around your plant. When those nasty little gnats go after your seeds and seedlings, the damage can go unnoticed until it is too late. Soil gnat damage will show as wilting, yellowing leaves, poor growth, and failure of the seedling to thrive. Using a mix designed especially for seed starting will greatly lessen the chance of soil gnats invading your seed starting area. I use Miracle Grow Seed Starting Potting Mix, but there are many seed starting mixes on the market that would work well. There are also sterile seed starting mix recipes on the internet if you would prefer to mix your own. A basic, sterile seed starting mix recipe should consist of peat moss (or coco coir), vermiculite, and perlite in equal parts. Do an internet search to find the recipe that works best for you.
Step 2. Soil Texture
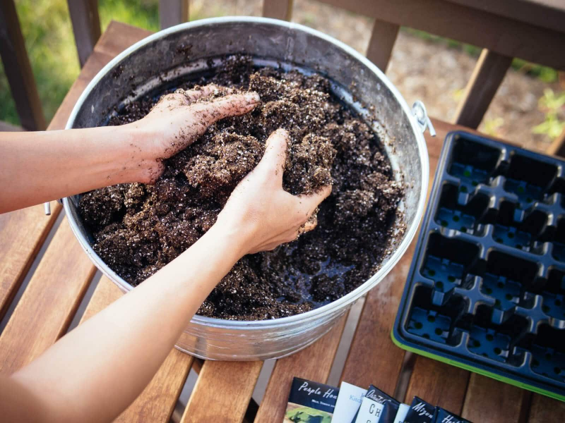
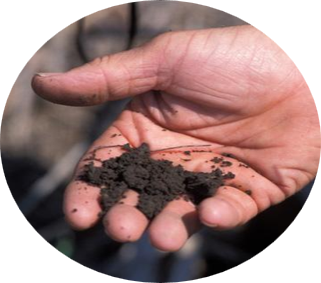
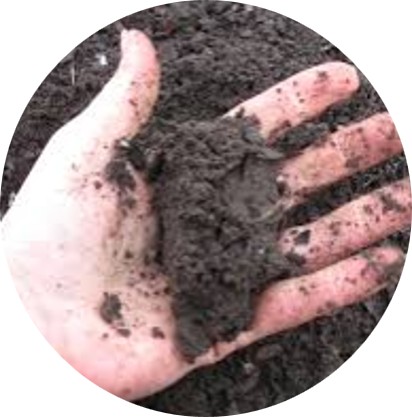
To get the soil to the best moisture level for your seedlings, you should add water to the soil before planting the seeds. Put the soil into a waterproof container such as a bucket or plastic storage box. Add small amounts of water to the seed starting mix in the container until you can squeeze some of the mix in your hand and it holds together without dripping water. If it easily crumbles or falls apart in your hand, then it is too dry. You want the soil to hold together when squeezed gently in your hand but not drip water. This is the right moisture level for giving your seeds their best start.

Step 3. Seed starting containers
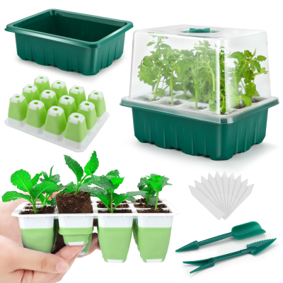
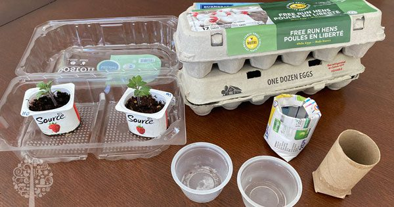
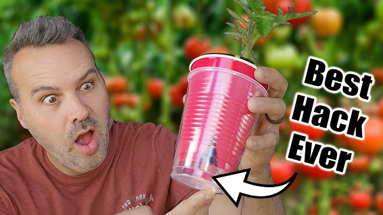
Wondering what to use to plant your seeds in? When it comes to seed starting containers you have choices. You can purchase seed starting cell packs with bottom watering trays and humidity covers. These are great and I have several that I use regularly, but these are not absolutely necessary. Seeds can also be started in two plastic drinking cups like Solo brand cups. Make sure you are using a food safe plastic cup. A plastic milk jug is another possible seed starting container.
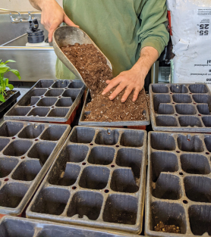
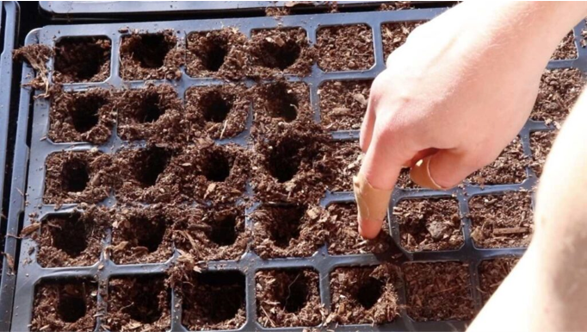
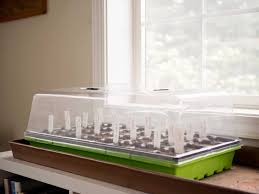
Now let’s talk about what to do once you have your container. If using a cell pack, fill each cell with seed starting mix and gently tap the cell pack to settle the soil. Fill the cell to the top. Make a small indention in which to place the seed. Fill the bottom watering tray to it’s fill line. Place the cell pack into the watering tray. Plant your seed according to the depth specified on the seed packet. Place the humidity cover on the cell pack. If you are using plastic drinking cups, punch a hole or two in the bottom of one of the cups. Use the other plastic cup (without a hole in the bottom) as a watering tray by filling the cup about 1/3 full of water. Then place the cup with the hole in the bottom, which you have filled with seed starting mix, into the cup with the water. This allows your seedling to draw up water as needed just like the cell packs draw water up from the watering tray. You can use plastic wrap (like Saran Wrap) secured with a rubber band over the top of your seedling cup for a humidity cover. I have used this plastic cup method to start seeds many times and have had very good success. This is a good method to use if you plan on sharing seedlings with friends or family. You can give them the seedling in its double cup without disturbing the seedling.
Another method is to use a plastic 1 gallon milk jug. Simply cut almost all the way around the jug about 3 inches up from the bottom of the jug. You want to be able to open the jug like a flap. Put seed starting mix into the jug almost all the way up to the cut opening. Plant your seeds and close the jug. Secure the outside of the jug with tape to keep it closed Painter’s taper works well. Place outside in a sunny area. Do not put the cap on the jug. You want there to be an opening for air flow and to be able to see into the jug to check on your seeds. One your seedlings have grown enough to be transplanted, remove the tape and open the jug. Carefully remove the seedling and transplant. I used this method recently to start some sweet peas and it worked very well
Step 4. Seed Packets
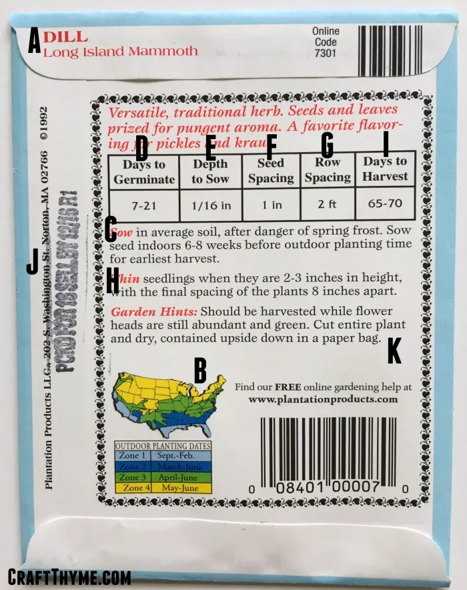
I find it most helpful to thoroughly read the back of the seed packet completely before planting my seeds. You will find very helpful information on the back of the packet such as seed planting depth, the number of days from planting the seed until germination, seed spacing and when to start your seeds. Also found on the seed packet will be helpful tips for transplanting seedlings like spacing of plants, days till harvest, height of mature plant and whether the plant is frost hardy. Remember, days till harvest or maturity begin when the plant is transplanted into the ground outside, not when you plant the seed.
Step 5. Plant your seeds
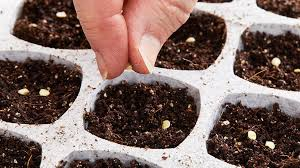
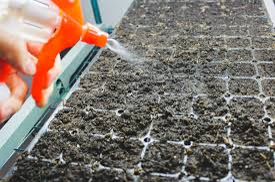
Ok, you have prepared your soil, read the back of the seed packet, soil is in the containers, bottom watering set up. What’s next? Well, now it is time to get those seeds planted. Plant two to three seeds in each cell or cup. Cover the seeds (or not, as stated on the seed packet) with seed starting mix. If the seeds are to be covered with the soil, press down gently after covering the seed to be sure the seed has contact with the soil. Use a spray bottle to gently mist the seeds with water. Place the cell pack or cup into the bottom watering tray. Place a humidity cover over the seeds. It is important to check the moisture in the seed cell pack or cup at least once per day. If the soil is soggy, your seeds will not be happy and may not germinate. Remove the humidity cover and allow the soil to dry a bit. If the soil is dry your seeds will not be happy. Check the water level in your watering tray and add water if necessary.
Do seeds need light to germinate?
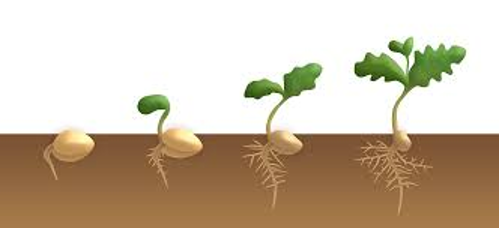
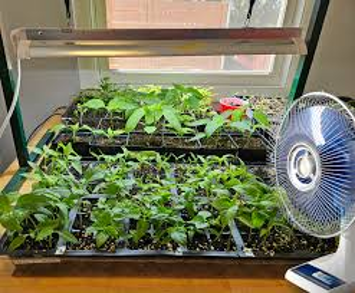
Most seeds do not need light to germinate. Seeds rely on the energy in their seed reserves, which is stored within the seed, until they break through the soil. Once the seedlings have emerged, seedlings generally need 14 to 16 hours of light per day. This can be achieved by using a grow light or by putting seedlings in a sunny location. It is important to be sure the seedlings get a period of darkness (8 hours or more) for rest. So how do we get light to the seedlings? Again, you have options. You can use a sunny window, south facing is best. Place the seedling as close to the window without touching as possible. Another option is to use commercial plant lights. These come in various sizes and with or without timers. You can use a desk lamp with a plant grow light bulb. An adjustable neck on the lamp is helpful. I use all three of these lighting sources. If you use commercial plant lights or a desk lamp with grow light bulb, be sure to adjust the light as the seedling grows. If the seedling is growing long and has a thin stem, then it is not getting enough light. Move the light closer to the seedling. Do not allow the seedling to touch the source of the light as this could burn the tender leaves of the seedling.
Light sources
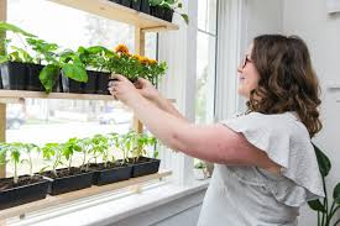
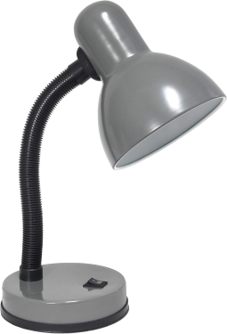

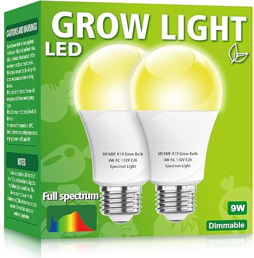
Options for light sources :
- Sunny window (south facing if possible)
- Plant lights
- Desk lamp with a plant grow light bulb
Seedling Development
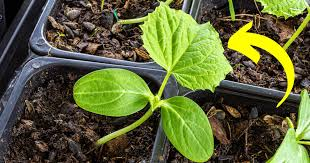
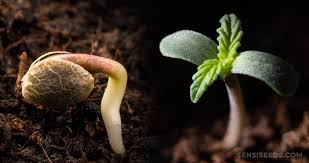
So, what to expect next? Once seedlings germinate, they will develop seed leaves before their true leaves. This is a sign that all is going well with your seedlings. True leaves will emerge soon after the seed leaves. You can fertilize after true leaves appear. To fertilize, use a water-soluble fertilizer at ¼ of the recommended strength in the water tray for bottom watering. Be sure not to over fertilize as too much fertilizer will burn and harm your seedlings.
Helping Seeds Become Strong
Once you have 2-3 true leaves on your seedlings, it can be helpful to use a small fan blowing gently on the seedlings to simulate wind. The gently sway of the seedling caused by the air movement of the fan will help the seedlings to develop a strong root system.
Hardening Off Seedlings
Hardening off your seedlings is a necessary next step for successful plants. Do not skip this step. Seedlings will need time to get used to outdoor conditions. This will prevent transplant shock and promote healthy growth. Hardening off prepares plants for the shock of the wind, sun, and different temperatures that they have not yet experienced. You are ready to begin the hardening off process when the seedlings have developed a strong root system and have several sets of true leaves. You also want to consider the weather. Be sure temperatures are consistently warm with little to no chance of frost in the forecast. On the first day, place your plant outside in the less harsh morning sun for 1 hour, then bring them back inside. On each consecutive day, double the time spent outside. This process should take about 1 week. Once the hardening off process is completed, you can transfer your plants to their outdoor home. .
Getting Seedlings Off To A Good Start
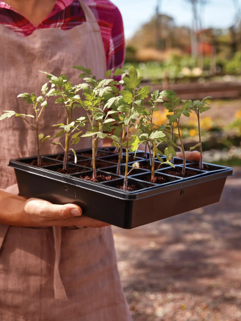
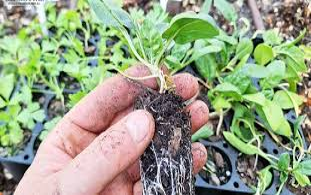
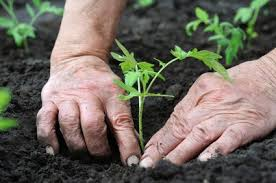
Now it is time to get your seedlings off to a good start outdoors. Dig a hole deep enough so that the seedling can be planted at the same depth it was in its original container. Abe careful not to plant too deep because the plant will struggle to grow if the roots are too deep. When transplanting your seedlings, be sure to cover the roots completely. If the roots are left uncovered even a little, they will dry out due to exposure to air. If the plant will need support as it grows, like a tomato or pepper plant, you will want to place the support in the ground at this time. If you come back later to place the support, you run the risk of damaging the developing roots. Be sure to water the plant thoroughly and fertilize according to package directions.
And there you have it. Now you can try your hand at starting plants from seeds. Oh, and one more thing, always remember to enjoy the gifts that nature shares with you through your garden. Happiness grows in the garden!
– Gram
Additional Tips
Days to maturity begin on the day the plant is planted into the ground.
Sources
LSU Ag Center : https://www.lsuagcenter.com/
NC State University : https://catalog.ncsu.edu/undergraduate/agriculture-life-sciences/agricultural-institute/
My own trial and error
